Hello lovelies!
I could not wait to share this week’s DIY project with you. It’s such an easy and super quick project with a big impact. Today, we’re talking about Photo Cubes, a DIY photo transfer technique.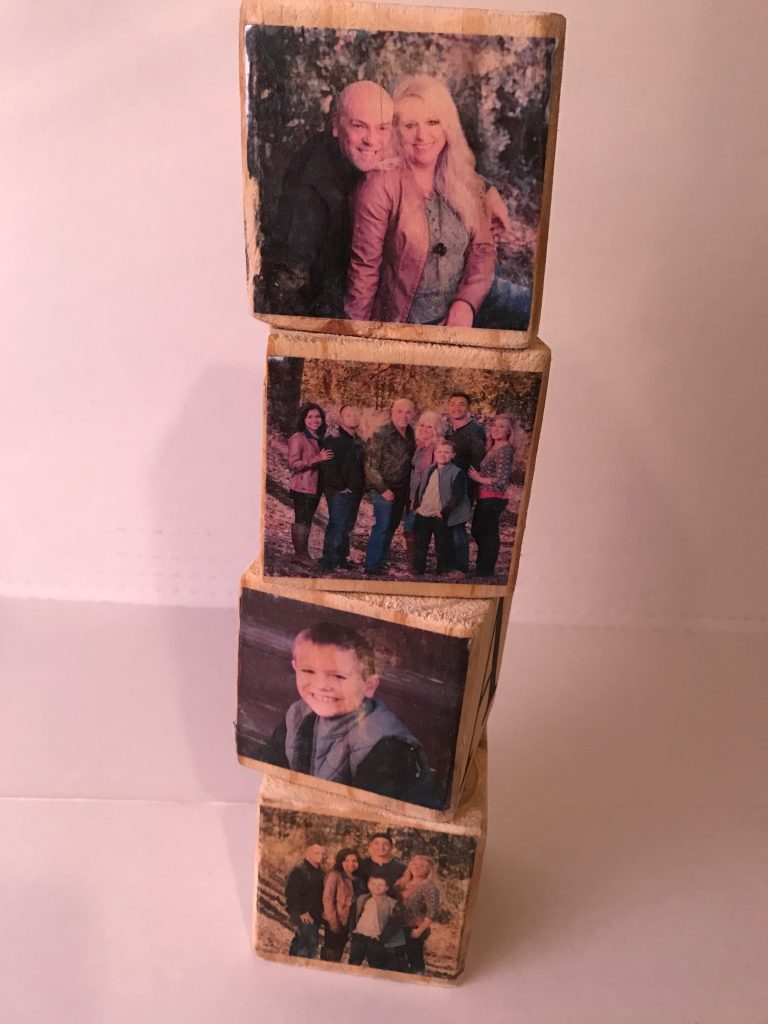
Who would’ve thought, you could take a photo and actually transfer it onto wood. Now, I’m not talking about printing an image and modge podging it on. You remember those projects in school right?? You know the one where you cut out pictures from a magazine or maybe even the teacher provided you with a picture of you and you applied the Modge Podge glue to the surface, laid the image onto the glue then brushed another coat of the Modge Podge over the top and it dried clear. Surely you did a project like this at some point in your school days?
Well this project is much different and yields a much better quality. We are actually going to transfer our family photos onto wood blocks. So let’s get started….
Here’s the materials you’re going to need:
1Gel (available here via my link)
4×4 wood post (cut into cubes)
Foam brush
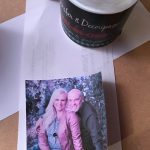
Pics (cut down to size and mirrored)
First take a little run down to your local Lowes knows store or a Home Depot. Grab yourself a 4×4 wood post and sweet talk a sweet employee to cut it into cubes. A 4×4 post is technically 3 3/4″ so make sure to have them cut it into 3 3/4″ cubes.
Next, sand those bad boys to remove the rough edges and create a smooth surface for the 1Gel to adhere to.
Now, here’s where we start really having fun.
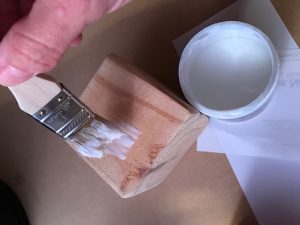
Using your foam or bristle brush, apply a generous coat of the 1Gel to one side of the cube. Take a photo that you’ve made a mirrored copy of, cut down to size(You can have this done at your local office supply store) and brush another generous coat of the 1Gel onto the image. Next, you will lay it in the 1Gel, image side down.
Carefully smooth out any air bubbles. You may have some of the Gel seep out of the sides and if you do, simply wipe it off. Allow the Gel to dry for about 6-8 hours.
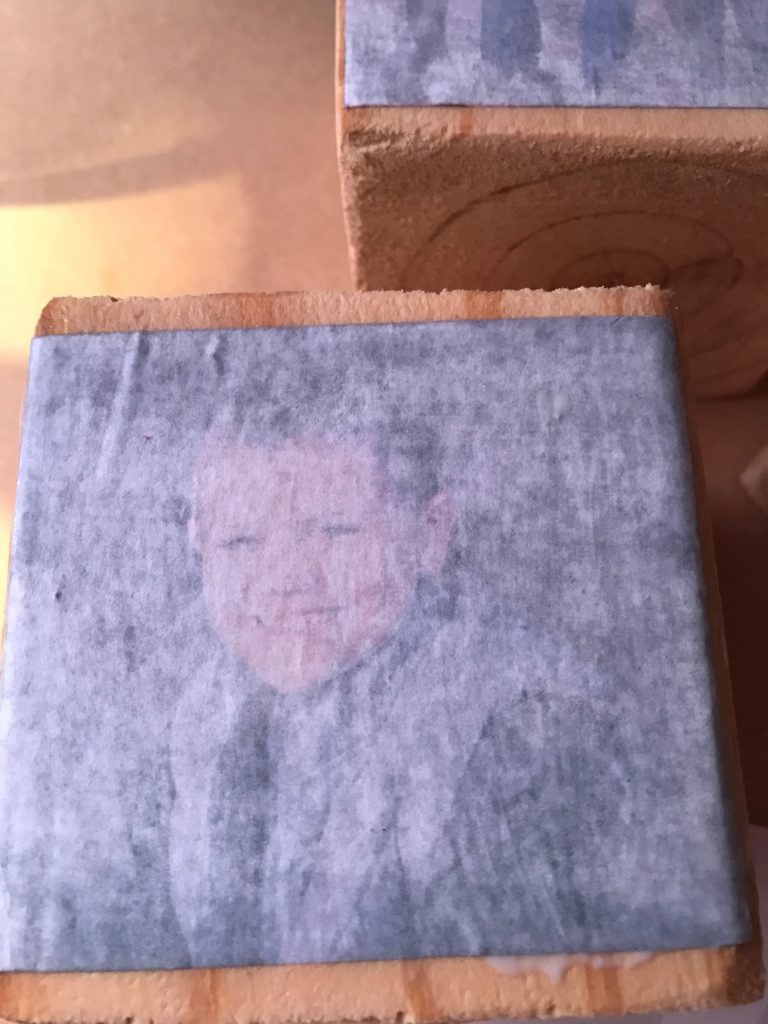
Once the 1Gel is thoroughly dry and to reveal your image, spray the paper backing with warm water using a water bottle. You will begin to see the image revealed. Now take your pretty little finger and in a circular motion, begin rubbing the paper away. You may need to mist with more water. The trick is to keep the paper wet. Once you’ve confidently removed the paper, allow it to dry. You will notice as it dries, it will appear that there’s more paper still there. You can go ahead and mist it once again and rub until all the paper is removed.
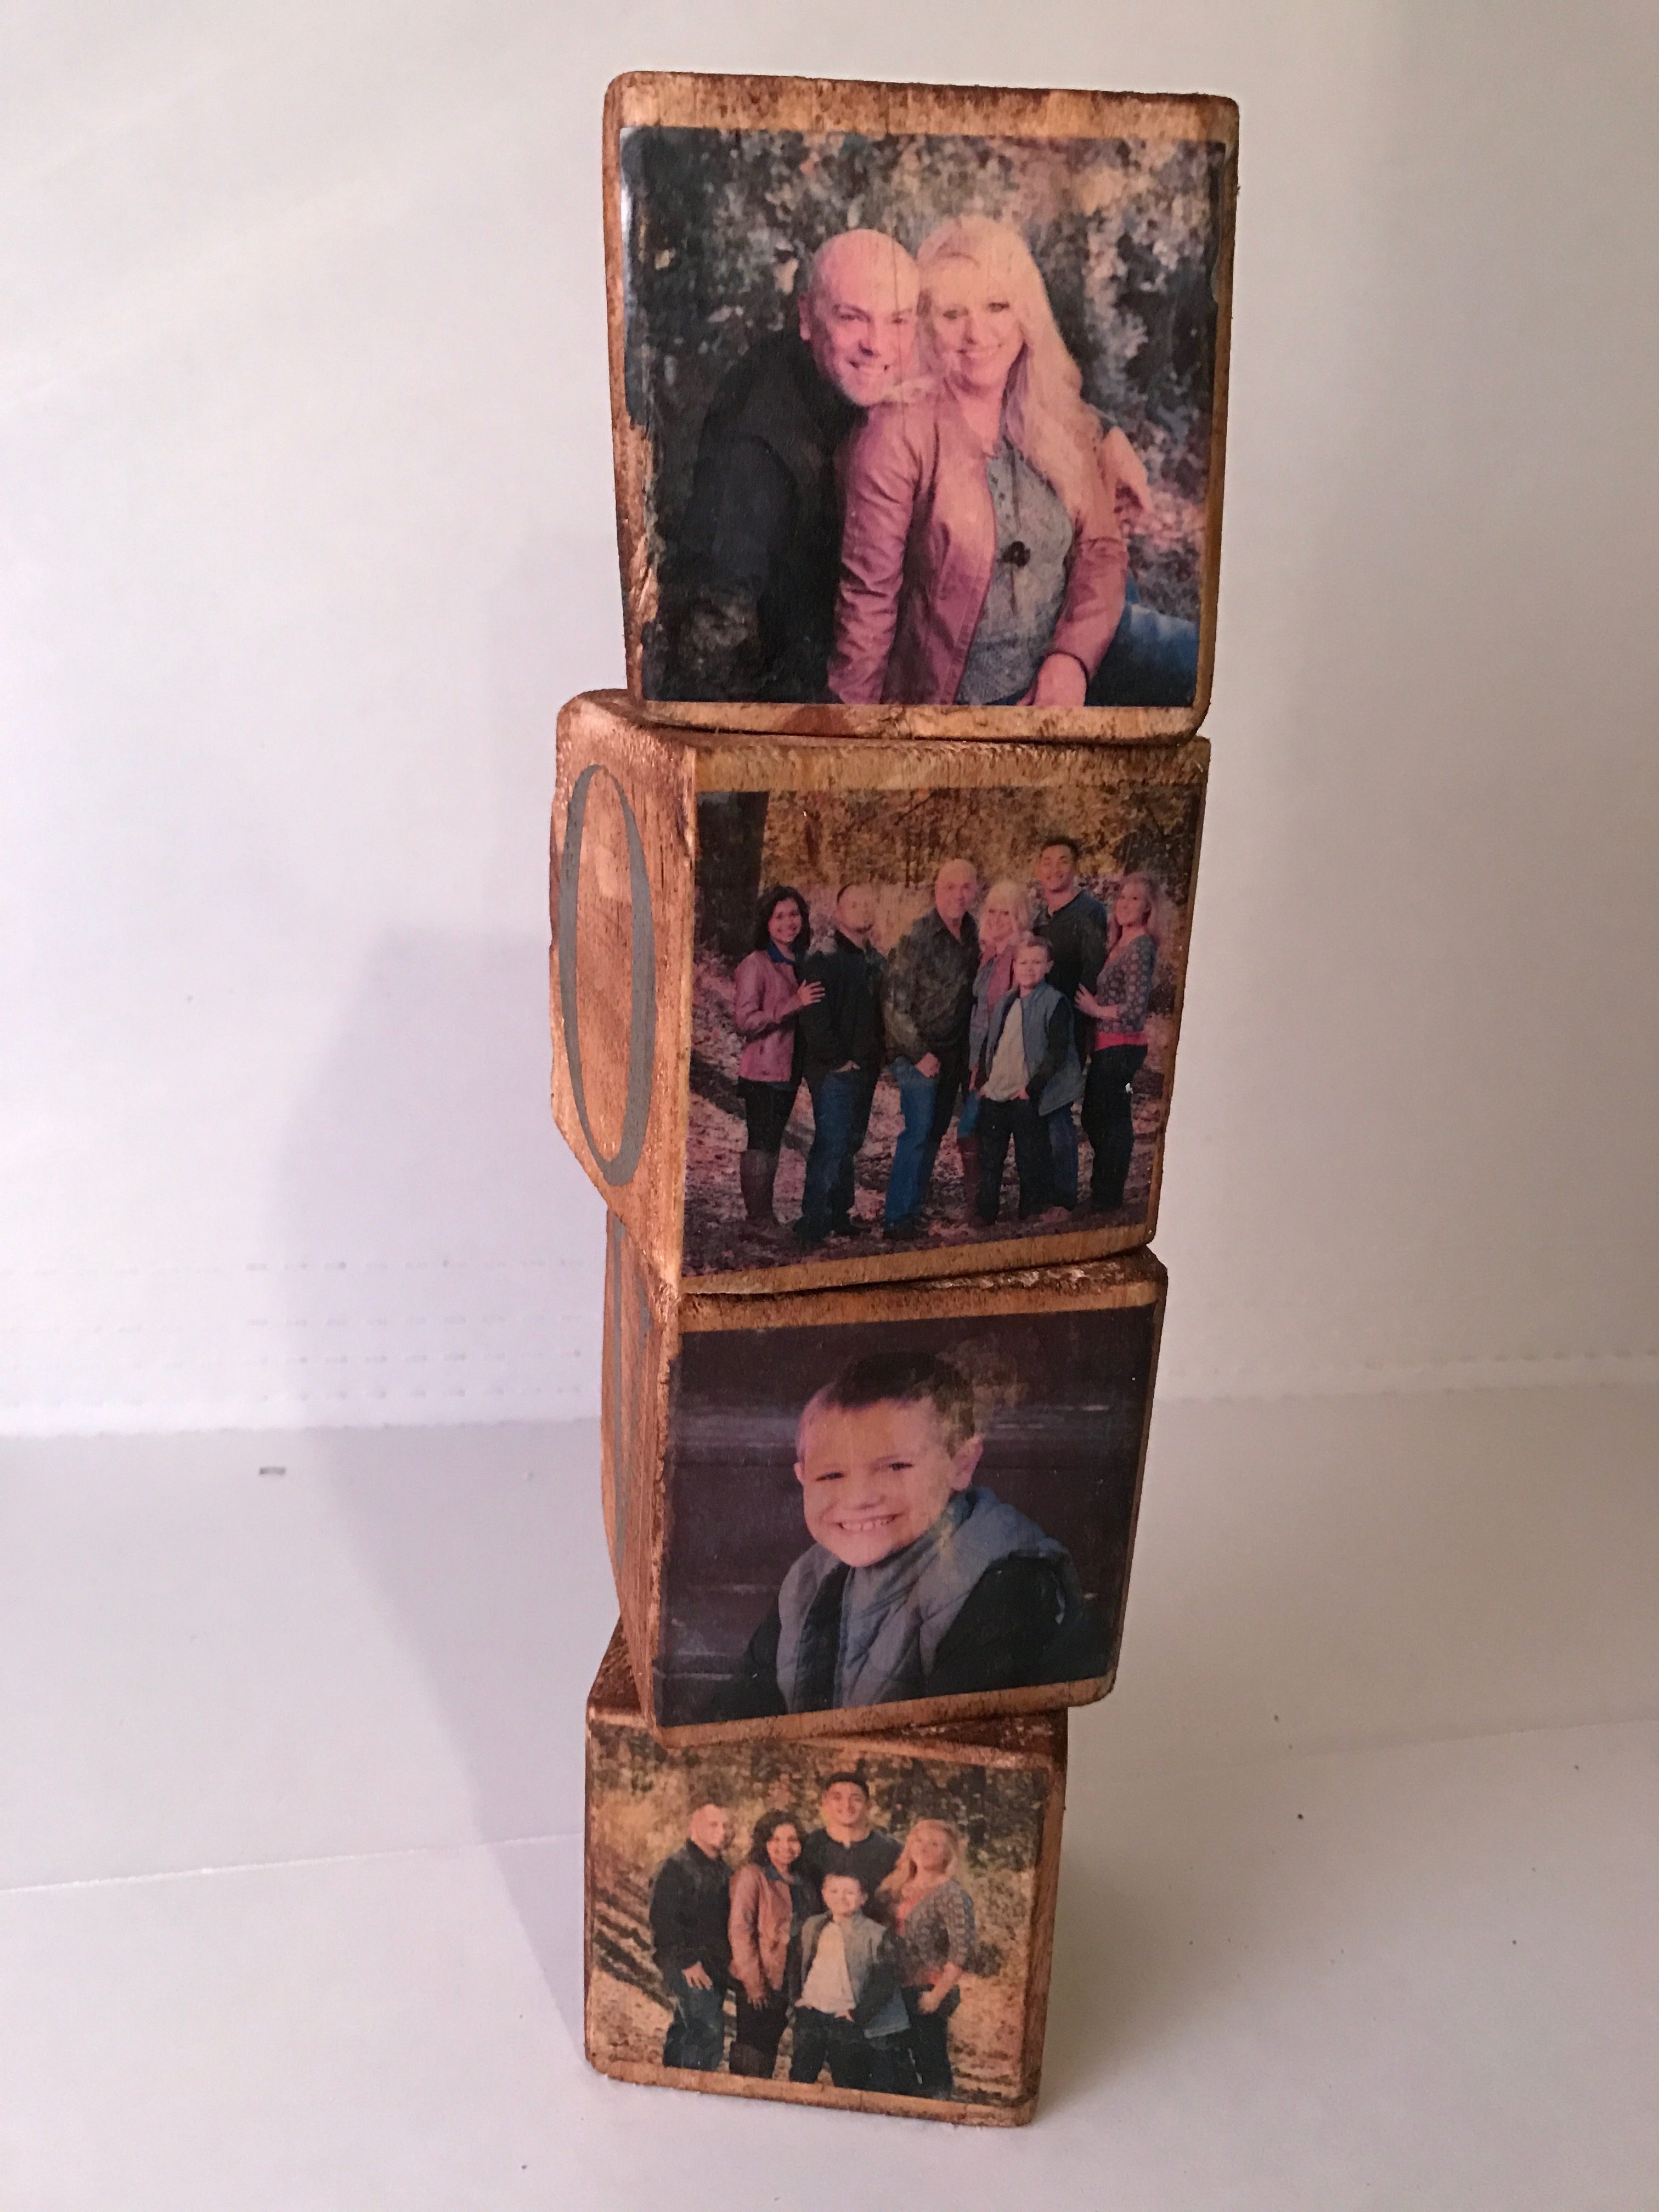
Tada….you have successfully transferred your first image onto wood. That was easy wasn’t it??
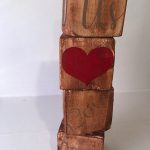
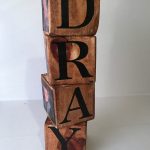
To decorate the other sides, I simply painted letters for our last name (which happens to be only 4 letters) on one side, the word Love on another, then random words on the other side, like; “Grace”, “Us”, a red heart and “Love”. After I painted the other sides, I used a brown antique wax to age the transfer and seal the cubes.
I’ve tucked these special little cubes into my home decor for a pop of Valentines decor and I think I may just keep them out year round, whatcha think? Every time I walk by this area and see my beautiful family’s pics on those blocks, I can’t help but smile.
It’s a great way to display your photos in a very non traditional way. And I’m all about doing things in a non traditional way, 🙂
So there ya have it for this week’s DIY project! Don’t forget to use our coupon code {PALLETLADY} at checkout, when you go online and purchase your 1Gel from Heirloom Traditions Paint.
Have yourself a super fabulous weekend and make some amazing memories with the ones you love the most!
DIY for the soul:
“But my God shall supply all your need according to His riches in glory by Christ Jesus.” ~Philippians 4:19
We like to party, so come join me at the following parties:





Leave a Reply