Hello Lovelies!
Today, I am so excited to finally share a project that lil dude and I have been working on.
We have actually been slowly but surely giving his bedroom a makeover. We’ve repainted the walls, built an entertainment/gaming station, built a Lego table and several other decor items for the walls. But the biggest and most time consuming project thus far has been the headboard.
Before we began the makeover process in his room, I scoured the Pinterest world for ideas. I didn’t want his room to be based on superheros or something that I would end up redoing in a few years when he decided he was no longer “into” whatever.
Legos however, have been his whole world even when he changes his mind about who his favorite super hero is for the week. I have a feeling though that Legos will be something that he’ll never outgrow.
Even tho his favorite color is green, I talked him into staying with more neutral colors; tan, grey and I threw in a pop of orange just because it struck my fancy!!
For his headboard, instead of going with all the basic colors of lego bricks, we put our own spin on it….
we used a brown wax.
Well here’s how we really did this…..
Since our DIY business uses a ton of pallets, I decided this would be perfect for the rustic Lego look I was going for.
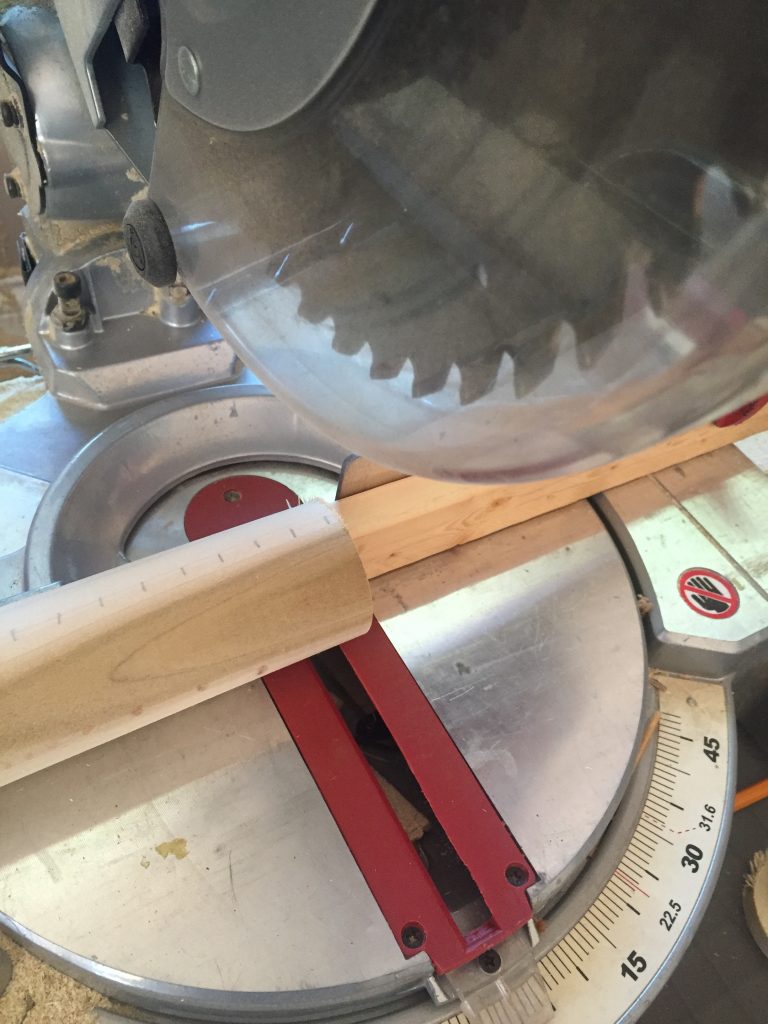
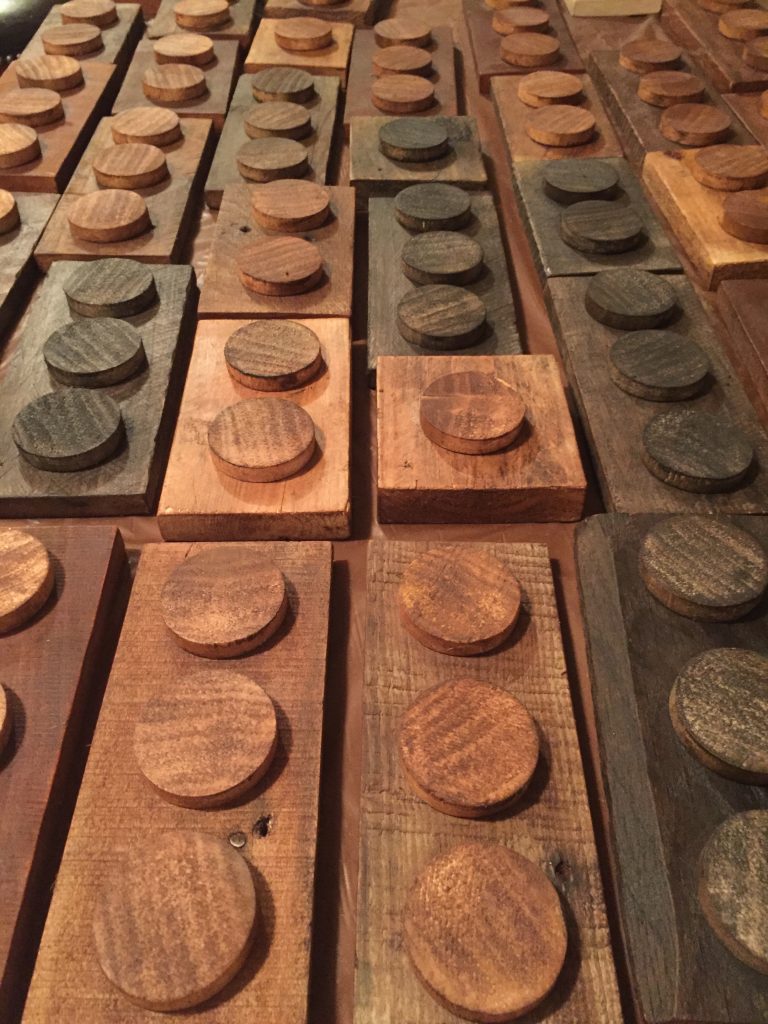
We cut each pallet plank into sizes that would resemble a Lego brick. Next, I picked up 2- 2″ wood dowels from the Lowes and cut them into 1/2″ slices.
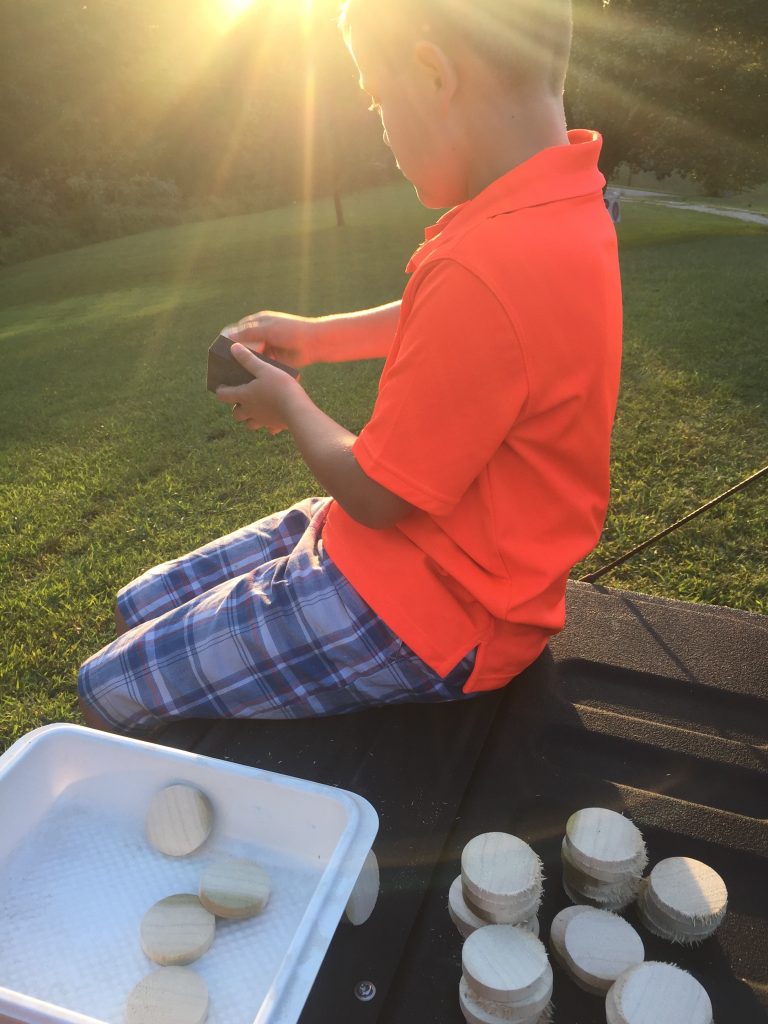
Lil dude was responsible for sanding all the little round disks. About halfway through, he had had enough of me!!! He lost interest rather quickly, but I stayed on the little creature and made him sand every single one!! LOL! Isn’t it great being a mom?!?!?!?! I think he sanded close to 200 of them.
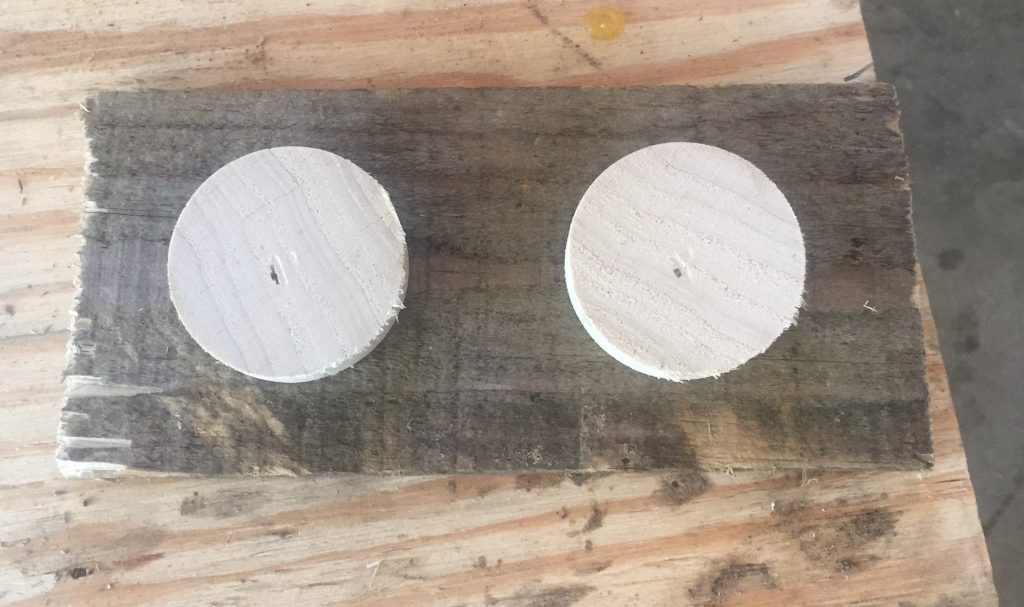
Next, he schooled me in the brick assembly i.e.; 1×2’s, 2×3’s..etc.. you get the idea.
We layed them out on tables in the DIY studio and glued and nailed every single circle onto a brick.
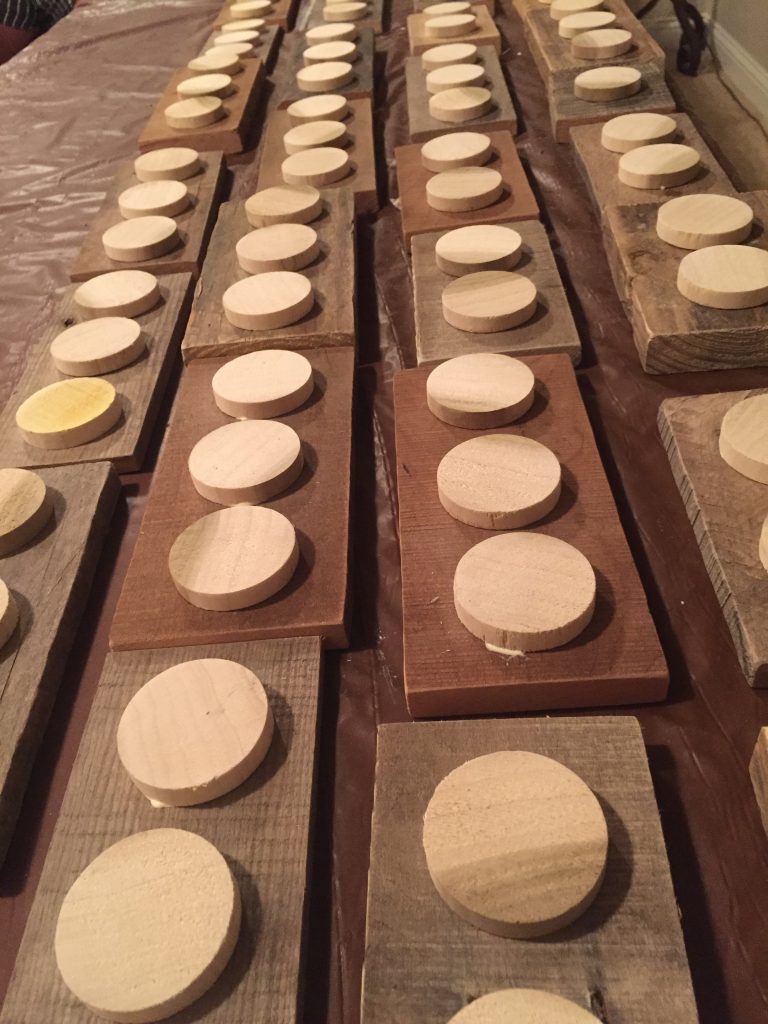 Once the glue had dried, we sanded again then applied Daddy Van’s Brown Wax. Each brick took on a different shade of brown, which was exactly the look I was going for.
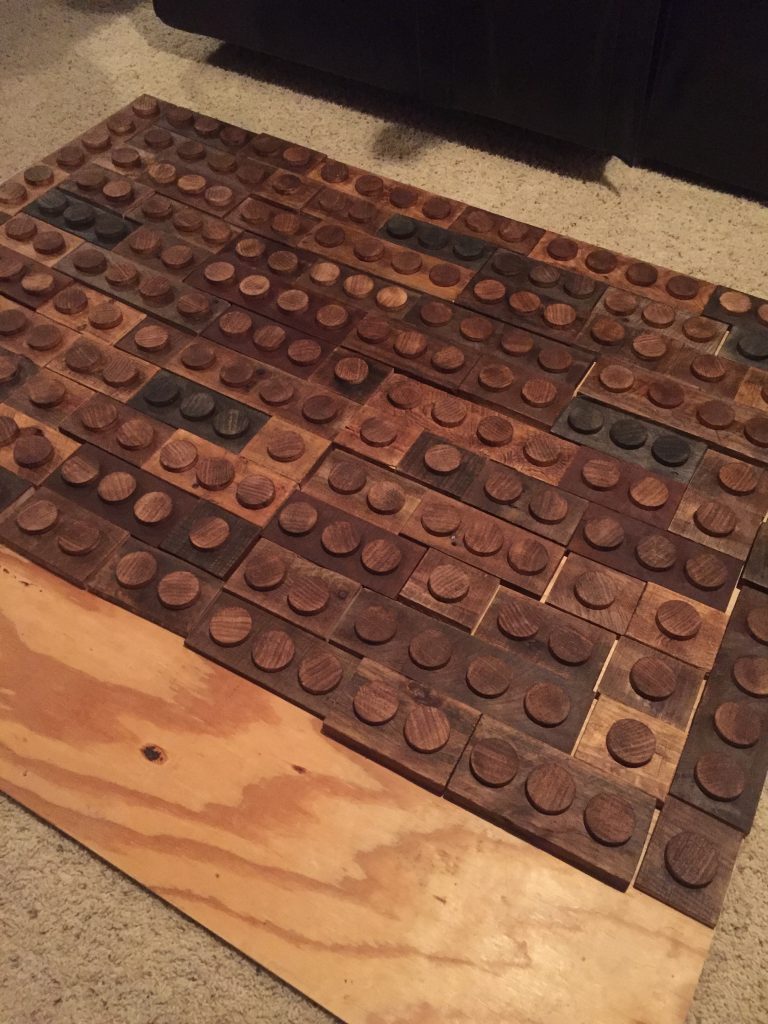
Now the tricky part….lay all those bricks out to form the headboard. Hubby cut down a piece of plywood and 2×6’s for the base and framework.
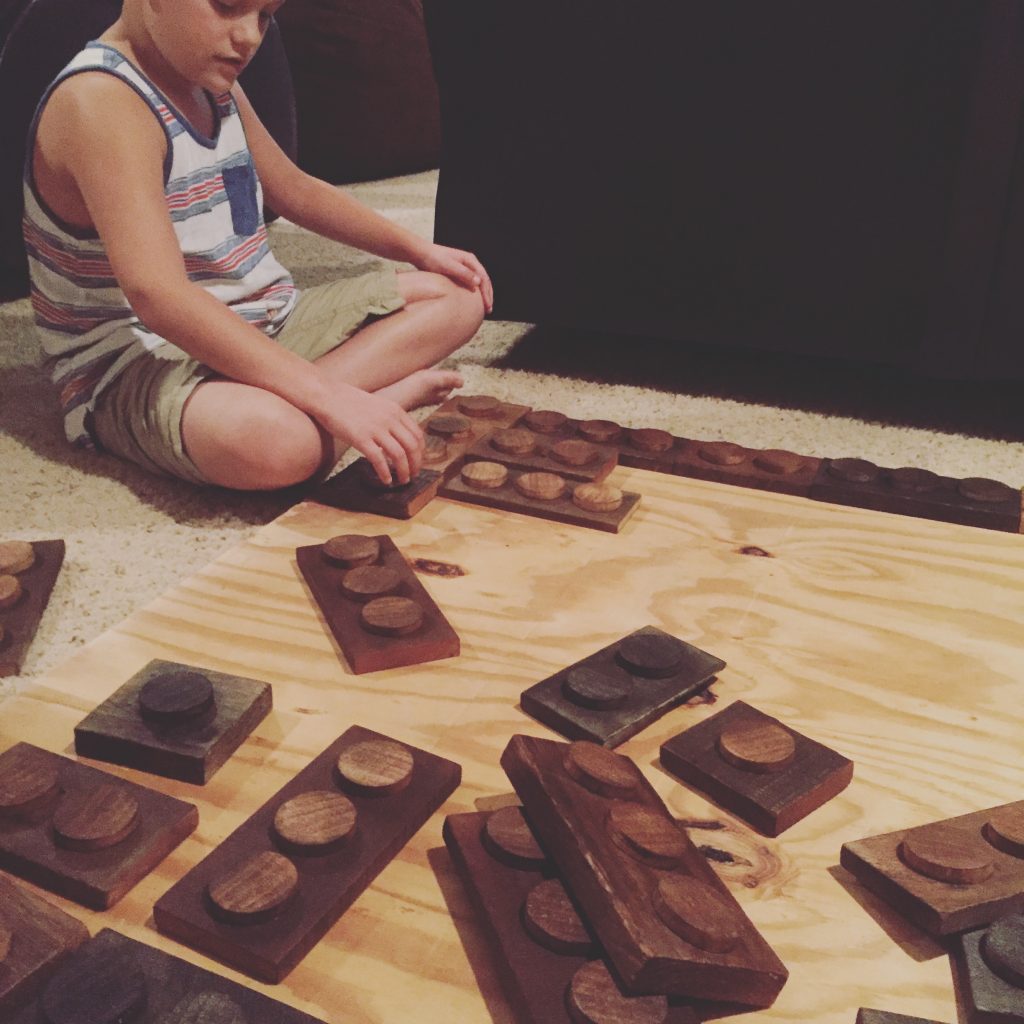
We used wood glue to attach all the bricks to the plywood.
Let me tell ya, that head board is so stinkin’ heavy!!!
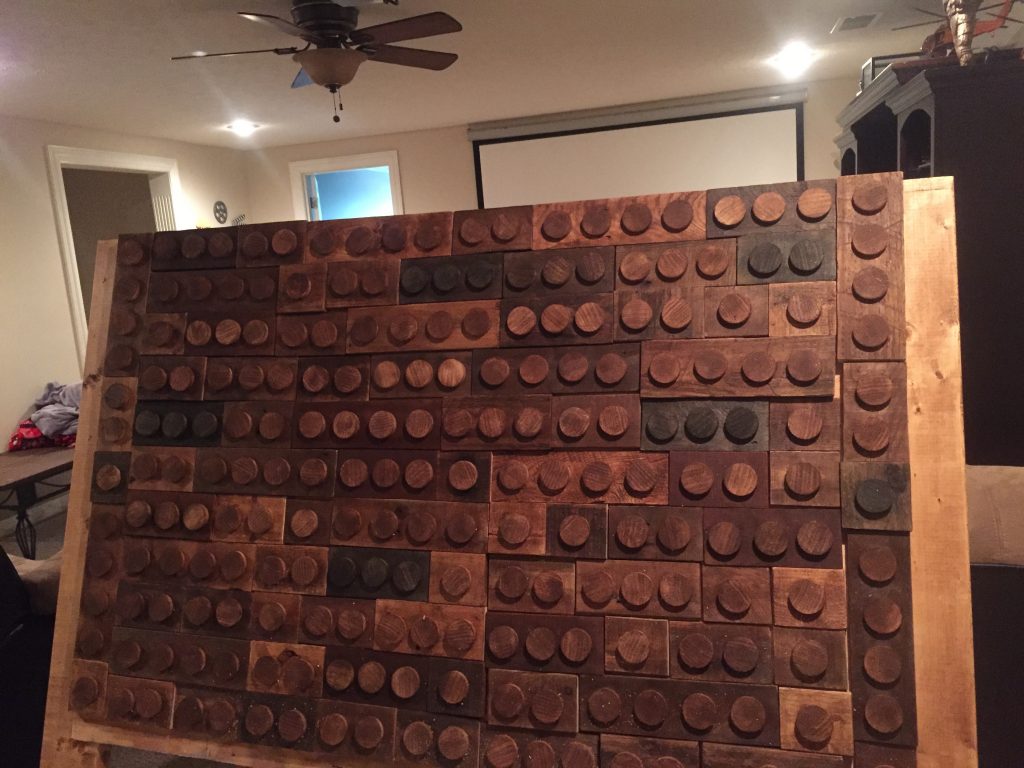
I purchased 2 metal fence plant hangers and attached to the sides then found these super cute lanterns at Target.
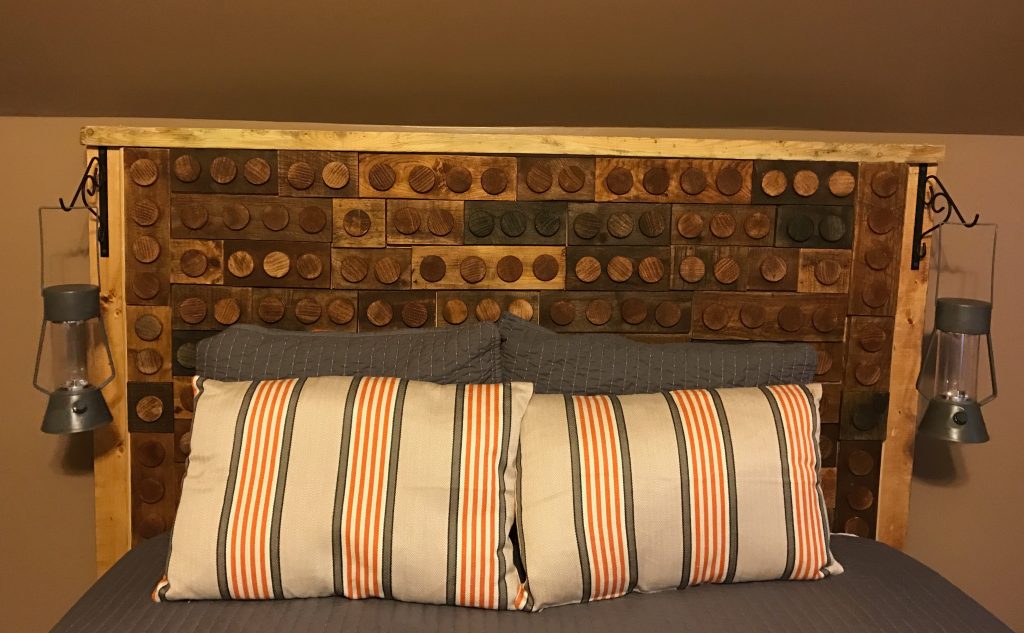
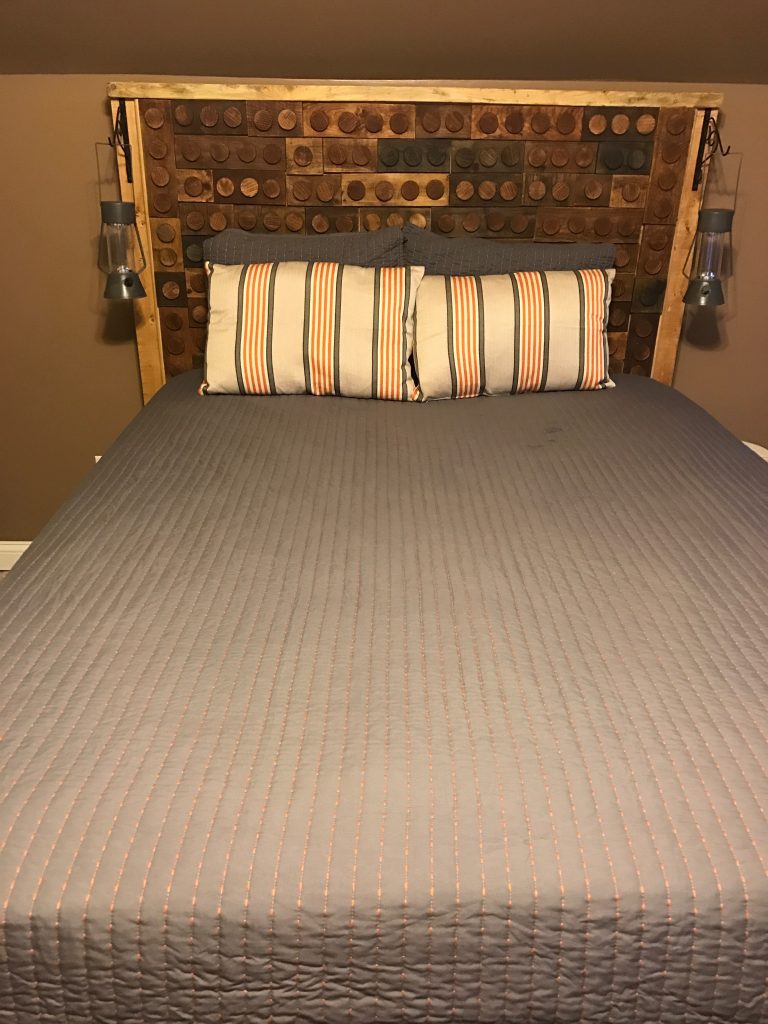
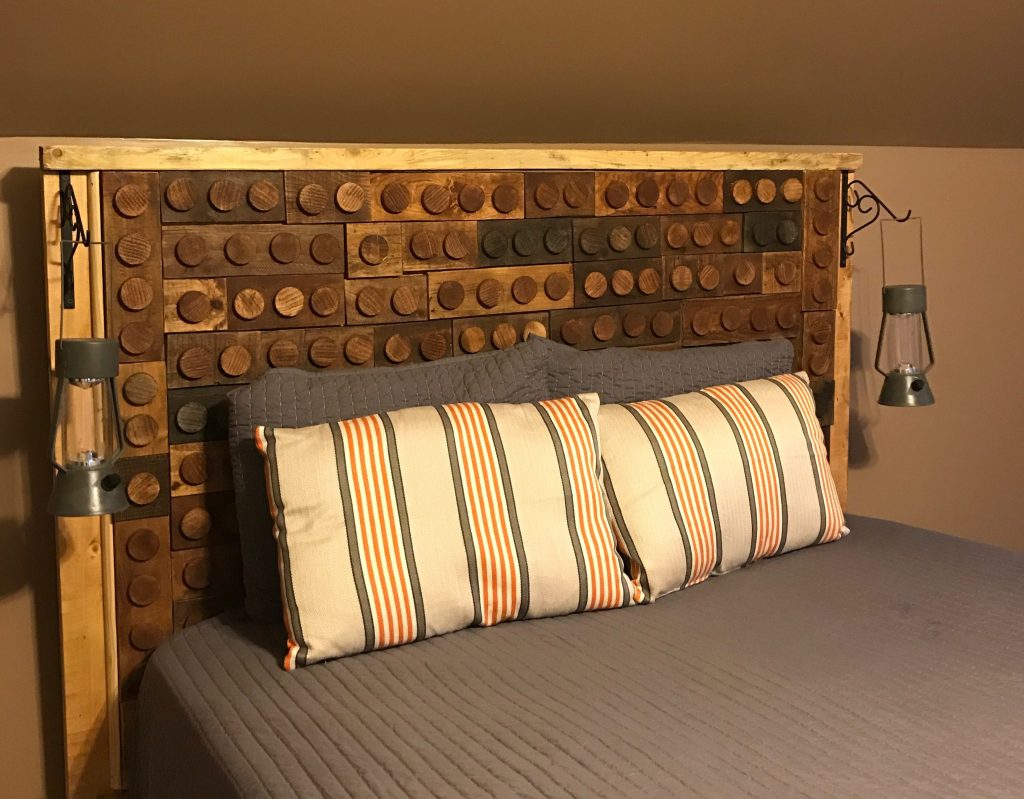
We think it turned out pretty awesome, and lil dude loves it!
A piece of plywood, 2″ dowel rods, pallets, 2×6’s, 2×3 and a little worker bee and you have a wood Lego headboard!
Thanks for stopping by and following our blog. Be sure to subscribe to our page for email updates.
DIY for the soul: “You make known to me the path of life; you will fill me with joy in your presence, with eternal pleasures at Your right hand.” ~ Psalm 16:11




This is so awesome! What an incredible idea!